FastAPI and Two-Factor Authentication
FastAPI is a modern Python framework for backend development with great support for authentication out of the box. In this article, we’ll build a simple authentication flow and extend it with 2FA (Two-Factor Authentication) using pyotp and qrcode.
Basic authentication
FastAPI supports different security schemes, including basic authentication. Let’s start with a minimal FastAPI app that authenticates users via username and password. The /auth/credentials endpoint uses HTTP Basic Auth and returns a token if authentication is successful. Instead of showing all the boilerplate (models, database mock, token handling), we’ll focus just on the endpoint logic. Full models and helper code are available in the repo.
from fastapi import Depends, FastAPI
from myapp.auth.main import get_login_response
from myapp.auth.models import LoginResponse

app = FastAPI()

@app.post("/auth/credentials")
async def verify(
    response: LoginResponse = Depends(get_login_response),
) -> LoginResponse:
    return response
Here’s what happens under the hood (hidden in helpers for clarity):
- Credentials are checked using HTTP Basic Auth.
- If authentication succeeds, a random token is generated and stored in memory.
- The token is returned in the response and can be used with HTTP Bearer Auth to access protected endpoints.
To see the full
User,LoginResponse, andDatabasemodels, check models.py.
Next, add the /whoami endpoint, which requires a valid token for authentication using the bearer authentication scheme. When a user provides a valid token that matches a record in the database (represented here as an instance of the Database type), the endpoint returns the user’s information.
bearer_security = HTTPBearer()

async def get_current_user(
    bearer: HTTPAuthorizationCredentials = Depends(bearer_security),
    db: Database = Depends(get_db),
) -> User:
    if bearer.credentials in db.auth.tokens:
        return db.auth.tokens[bearer.credentials]

    raise HTTPException(status_code=status.HTTP_401_UNAUTHORIZED)


@app.get("/whoami")
async def whoami(user: User = Depends(get_current_user)):
    return user.username
Note: This example uses plain-text passwords and random tokens only for demonstration purposes. In production, use secure password hashing and JWT or another strong token system. Always run authentication over HTTPS.
Adding Two-Factor Authentication (2FA)
To improve security, let’s extend the app with Two-Factor Authentication (2FA) using pyotp and qrcode.
We need to:
- Enable or disable 2FA per user.
- Share the OTP secret with an authenticator app like Microsoft Authenticator (via QR code).
- Verify OTP codes at login.
pyotp is an excellent library that implements everything we need for this task. And it also comes with examples of usage. Before showing how to use this library together with FastAPI, we need to first take a look at what changes should be made to the code above so that 2fa can be used.
-
Enable/Disable 2FA Extend the
Usermodel withSecuritySettingsand add an endpoint:class SecuritySettings(BaseModel): otp_configured: bool secret: str @app.put("/auth/otp/enable") async def otp_enable(otp: Otp, user: User = Depends(get_current_user)): user.security_settings.otp_configured = otp.enabled -
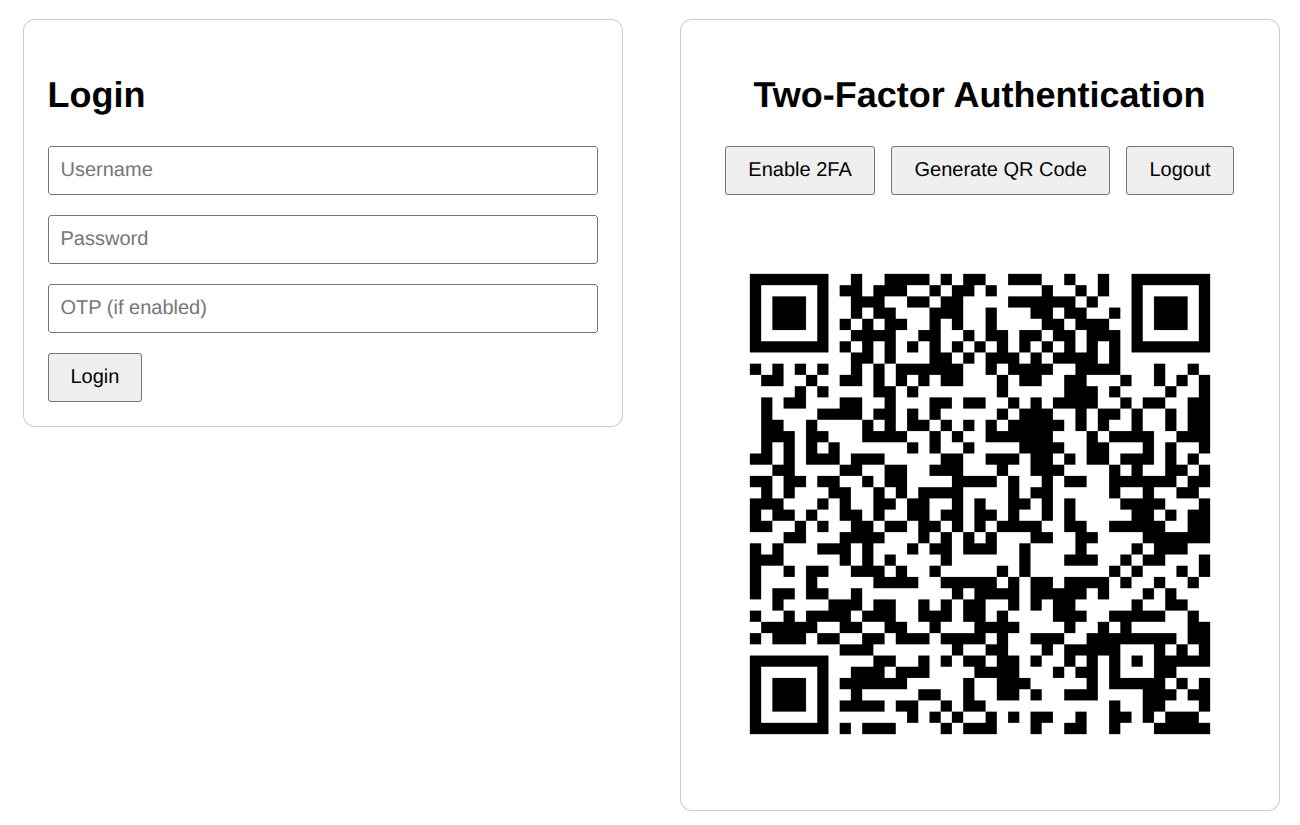
Generate QR Code Users scan a QR code in their authenticator app to set up TOTP.
 @app.get("/auth/otp/generate")
 def generate_qr_code(user: User = Depends(get_current_user)):
     totp = pyotp.TOTP(user.security_settings.secret)
     qr_code = qrcode.make(
         totp.provisioning_uri(name=user.username, issuer_name="Example app")
     )
     img_byte_arr = io.BytesIO()
     qr_code.save(img_byte_arr, format="PNG")
     img_byte_arr = img_byte_arr.getvalue()
     return Response(content=img_byte_arr, media_type="image/png")
This endpoint generates a QR code that can be scanned by the Authenticator app to register an account.
-
OTP Verification During Login We now modify the login flow to require OTP if 2FA is enabled:
 async def is_otp_correct(otp: Optional[str], secret: str) -> bool:
     return pyotp.TOTP(secret).now() == otp

 # inside get_login:
 if user.security_settings.otp_configured:
     if not await is_otp_correct(otp, user.security_settings.secret):
         return Login(status=ErrorCode.wrong_otp)
API Endpoints Overview
| Method | Endpoint | Description |
|---|---|---|
POST |
/auth/credentials |
Authenticate with username and password. Returns a token if successful. If 2FA is enabled, requires an otp query parameter. |
PUT |
/auth/otp/enable |
Enable or disable 2FA for the authenticated user. |
GET |
/auth/otp/generate |
Generate a QR code for setting up TOTP in an authenticator app. |
GET |
/whoami |
Returns the username of the authenticated user. |
Testing the flow
| # | Step | Command |
|---|---|---|
| 1 | Authenticate and get a token |
|
| 2 | Enable two-factor authentication for the user |
|
| 3 | Generate QR code for authenticator app |
|
| 4 | Authenticate with both password and OTP |
|
Bonus: Swagger & UI
Alternatively, you can interact with the API using the built-in Swagger UI at localhost:8000/docs or the ReDoc interface at localhost:8000/redoc. For a more streamlined experience, a simple web UI is also available for testing at localhost:8000/static/index.html.
✅ Adding an extra layer of security to your app is simple with pyotp, qrcode, and FastAPI. Following the steps above, your app can have two-factor authentication up and running in no time. For the complete code, check out this link.